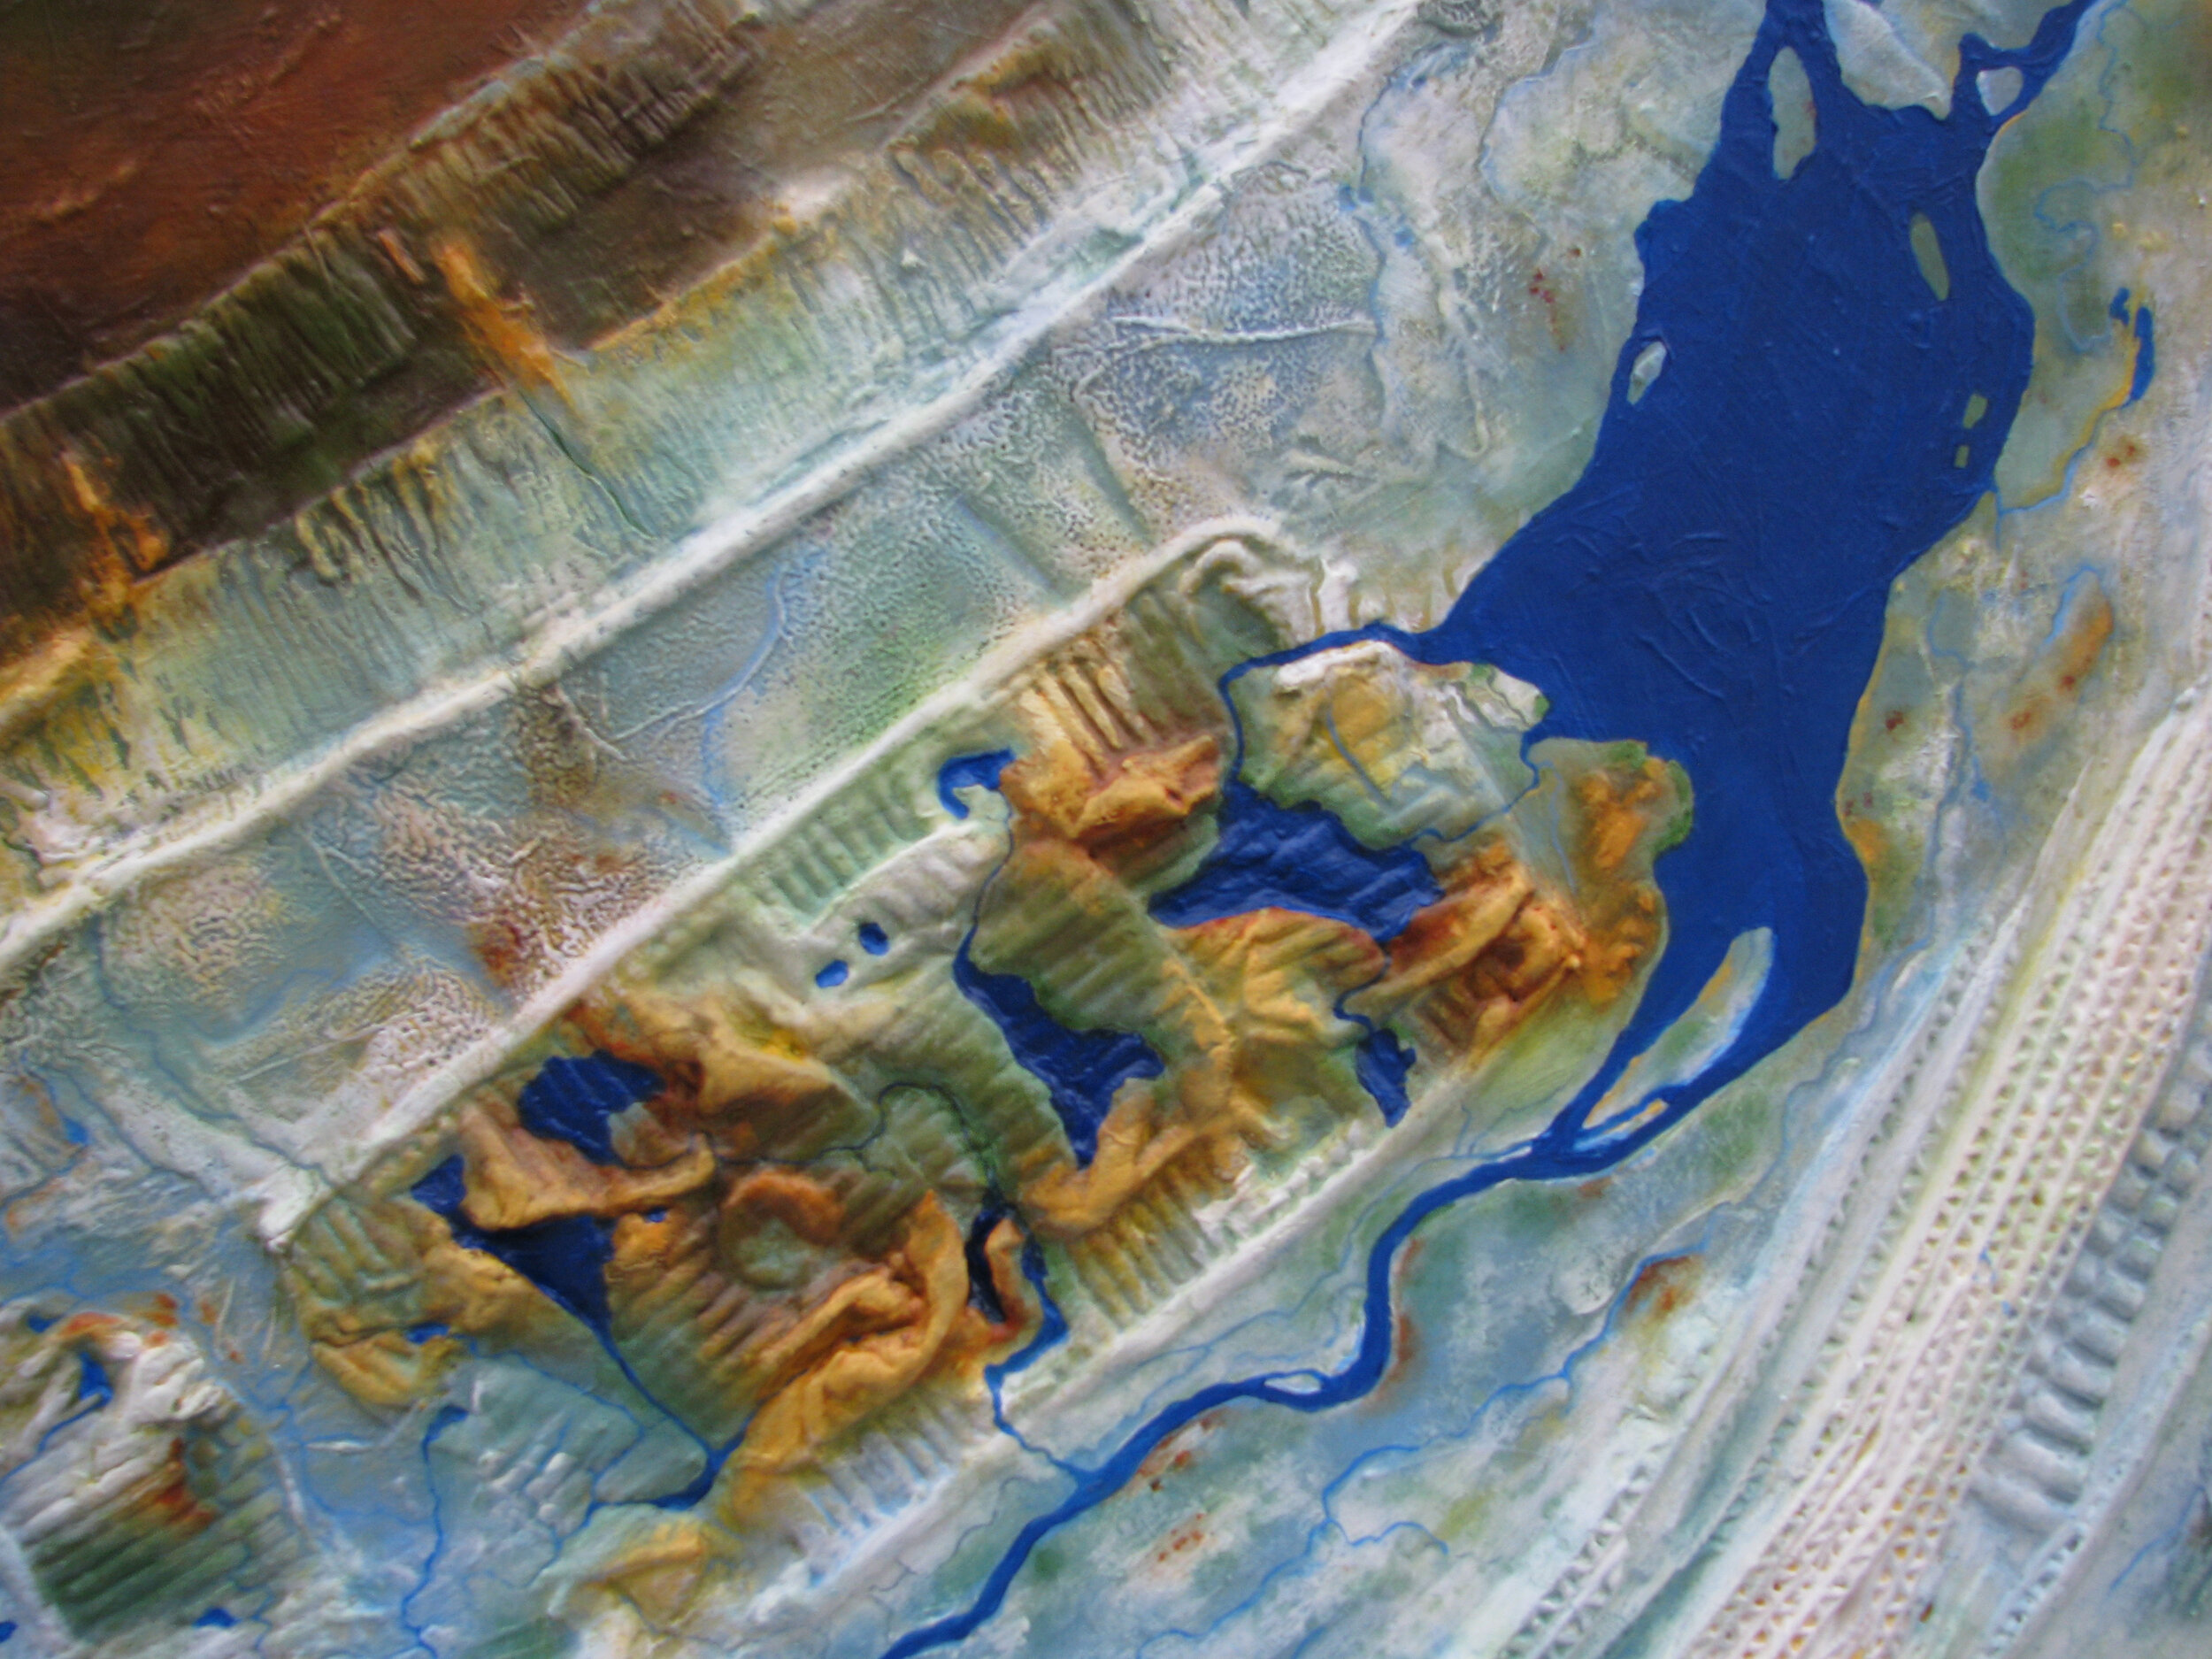
Isabela Blanchet, Temptations and Dreams (detail)
In this section you will find:
written guidelines
2. a “how-to” video TUTORIAL
3. your printable gallery planning worksheet pdf
4. an online form to get you onto the website and to request assistance
Written GUIDELINES
THE PLANNING STAGE
Read this whole document BEFORE starting to get a sense of what is where, and what to anticipate.
There are a few decisions you need to make ahead of time in order to lay out your work:
How many Projects(= categories) of work you want to show in your gallery? Think of them as Chapter Titles.
- Create a list of your titles
- Have a horizontal photo ready on your desktop to illustrate each
Bring between 1 and 5 artworks on your desktop per Project
Determine if you want to have your artwork showing in 2 or 3 columns
Have captions ready for each artwork.
Doing this will save you a lot of time and headaches. You’re welcome to check any of the completed galleries for inspiration about how you can organize your work.
Now you are ready to start.
Personalizing Your Page and Projects
Save every change you make as you go along. This will save you time and frustration. If you don’t like the change, you can fix it later.
Click on your name in the Pages section, on the left area in white. This will bring you to your “Personal page” where you will insert your name, artist statement and Projects. Projects = categories or sections. You should have a maximum of 4.
If you ever get lost and want to get back to your personal page:
Go to the Home page —> In the grey area to the left, click on your name —> Now you're back in your page
To add your name and artist statement, click on the EDIT button, top left. Bring your cursor to the area and insert your name if it is not already there.
Click in the grey area. Start typing over the text that is already there.
When you are finished, go to the DONE button, top left, and click SAVE. You can always delete if you did something you don’t like.
Continue to work on your page by going back to Edit button.
Remember to click DONE + SAVE frequently.
Changing your Project Titles and Photos
Again, click on Edit, then bring your cursor to the left of the page where you see Type Your Project Titles Here. You have 4 of them.
On the right side of your Title, there is an icon … Click on that, then click Settings.
In the Settings page, click on General (left, in the grey zone). Then in the white zone, under title, replace Type Your 1st Project Title Here with your own title.
Under the picture in that section, click on Remove Image, then click on Upload Image. This will bring you to your computer Desktop. That is where you should already have saved the images you want to upload. Uploading takes a few seconds.
HERE YOU HAVE A CHOICE:
You can wait to edit your photos later when all your photos are uploaded in that Project
Or, you can Edit Image right now. (see description further below)
Repeat for each Project.
If there are projects you don’t need in your list, click on the icon to the right of the Project title in the list. DELETE. Then make sure you Save again (top left).
Adding Photos (process is the same as for your gallery pages)
Click on the photo or title of the Project you want in your personal member’s page.
Click EDIT, top left.
There are already 6 photos there. Above these, click on the + sign. Click on Upload Images (from your desktop), as many as you want. SAVE.
To remove an image you don’t want, hover your cursor above it and a little red garbage can icon will show up. Click on it, then Confirm. CLOSE that page and Save (top left).
Editing Your Images
You will see your photo on the left.Top right, there are 3 icons that allow you to Adjust your photo, Crop it or add Filters.
Adjust gives you several possibilities. Just slide the buttons according to what you like.
Crop gives you several possibilities but the most useful is Customize at the bottom which allows you to play with the black corners at the edges on your photo the way you want.
Filters: pretty self explanatory. Just a matter of playing with them and selecting what you like.
SAVE, then Save. It will take a few seconds for your edited photo to upload. Save again (top left)
Editing the Look of Your Gallery
The template is set for 2 columns with a grid view. This can be changed.
Click on your Personal Page
Click on the Project you want to change
Go to Edit, top left
Hover your cursor above the photo on the right. Icons will appear:
Pass the photo icon. Click on the little pencil icon. This will bring you to Gallery.
Click on Gallery type. From the pull down menu, Grid masonry works best if your photos vary in shape and size.
Lower, under Gallery, you can change various things, eg. width, number of columns, aspect ratio, etc. Choose what you like.
This is also where you can switch the Captions button on or off. On will allow you to write your caption (title, size, materials used, date, etc.) when you add your photo. Here you CLOSE instead of saving your changes.
Under the Colours tab (right of Gallery), you can choose from a pre-set selection of colours for your fonts and backgrounds.
To re-organize the placement of your photos in the Project page, just drag and drop them where youu want.


